.svg)
In this article, you’ll learn how to:
- Find or add a user to register for an event
- Add tickets
- Add guests
- Complete the registration
- Record a payment
360Alumni event organizers have the ability to proxy register users for any event, making it easy for attendees to phone in, email, or snail mail their RSVP to you. This means that important donors who may not have time (or those who are less comfortable using the web) don’t have to register themselves.
If you want to register an attendee and process a payment at the same time, its's best to go to the user's profile, log in as them, and register on their behalf:
1. Go to the user's profile, then click on "Log in as this user".
2. Under the Events tab click "View Events"and browse for the desired event.
3. Follow the prompts to register as the user. Check this guide for more details.
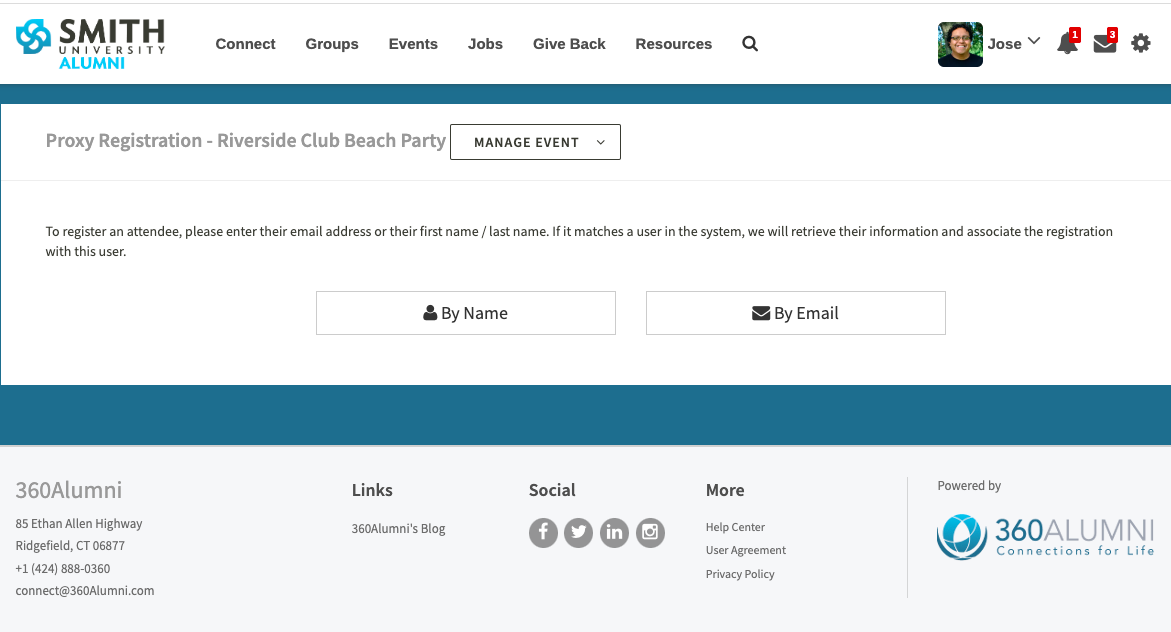
If you do not have a credit card number to charge the registration to, you'll want to use the "Register an Attendee" function (proxy registration). First log into your community and navigate to the event. Your event needs to be open for registration, so make sure the "RSVP by" date and ticket sale end dates have not passed. Then, go to the “Manage Event” menu and click "Register an Attendee".

You can search for a user by name or by email. If the user is not in your user database you can easily add them.
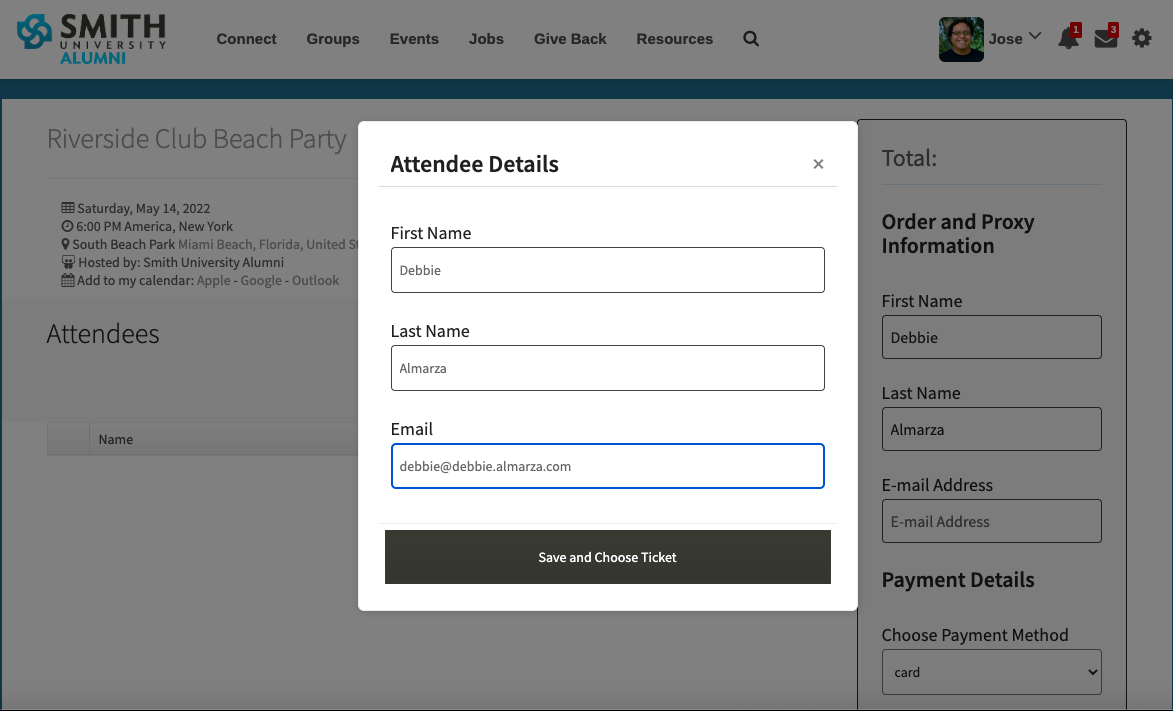
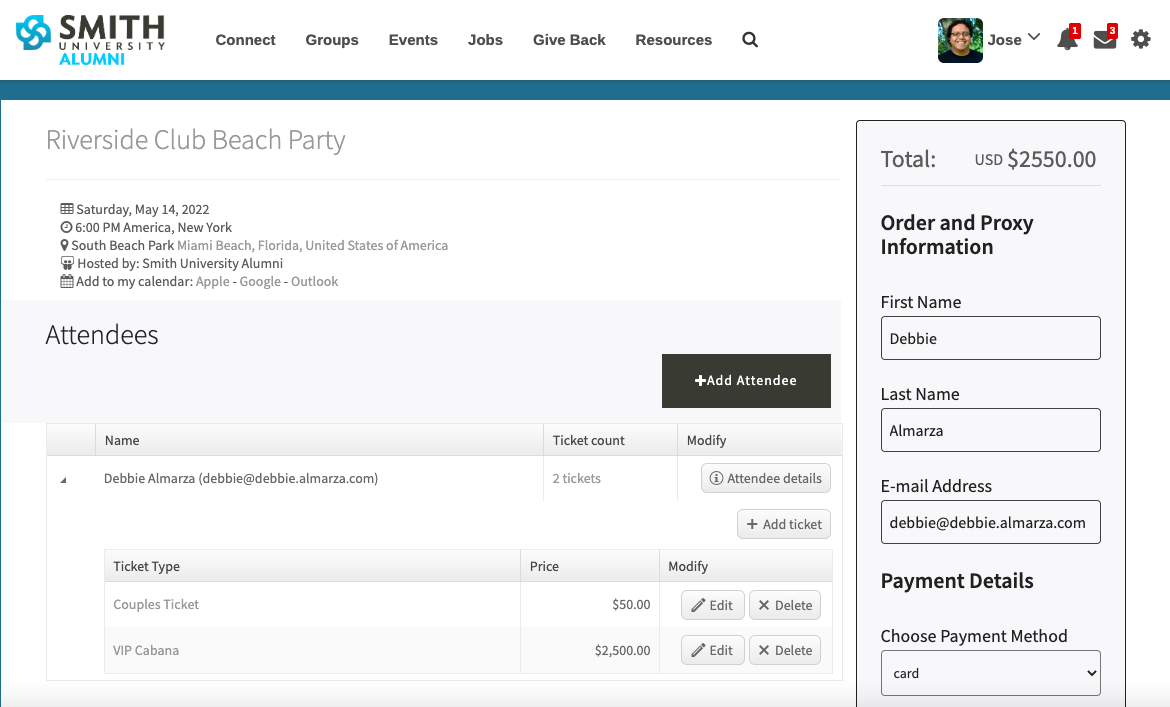
Once you locate the user, click “Assign Tickets”. The dialog that allows you to enter that user's information and select tickets for that user.
To add additional tickets (for dinner, drinks, parking, etc.) for that user, click on the “Add Ticket” button below the “Attendee details” button.
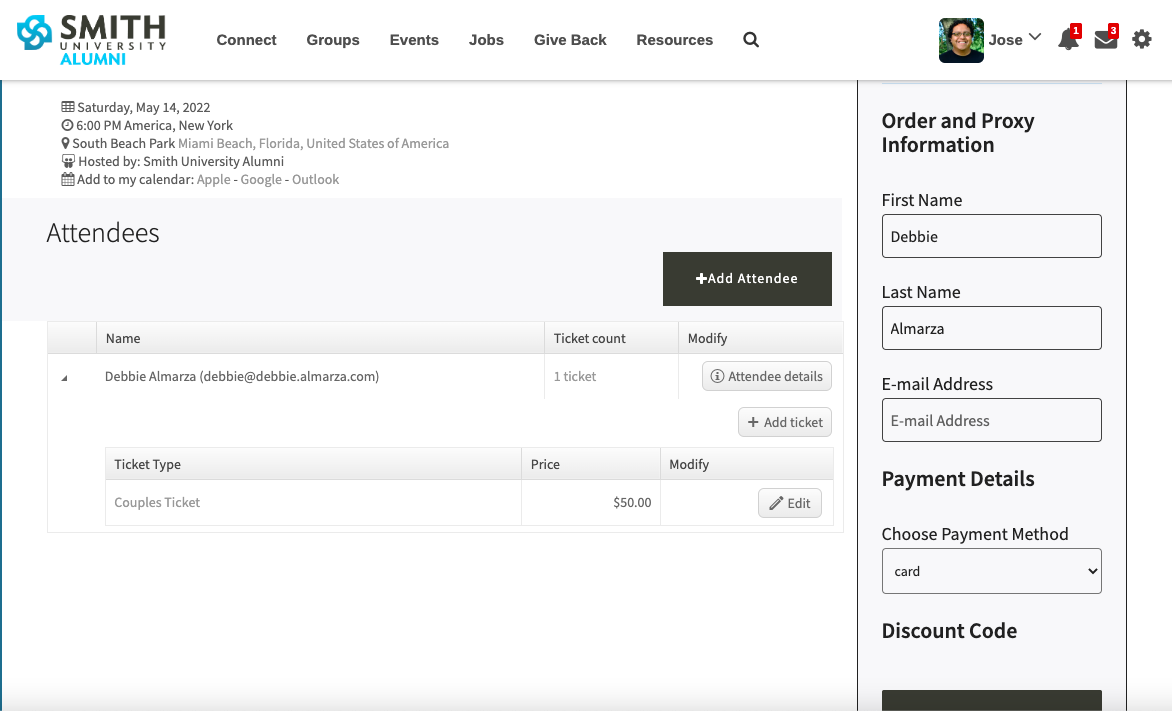
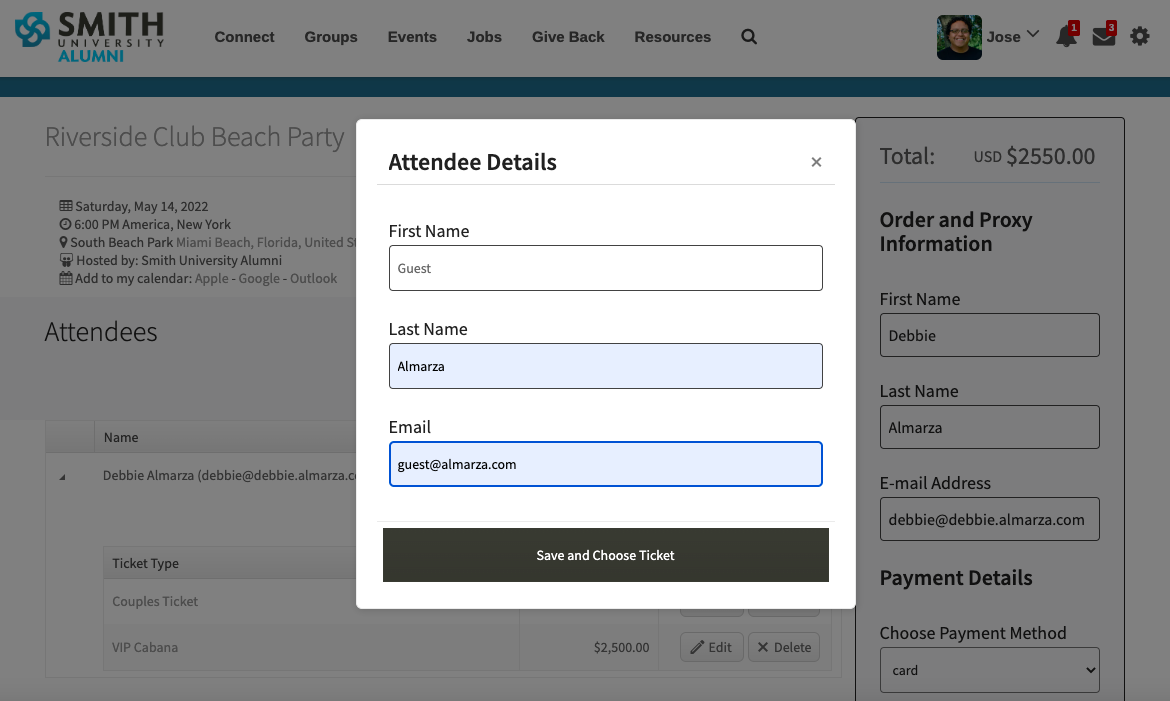
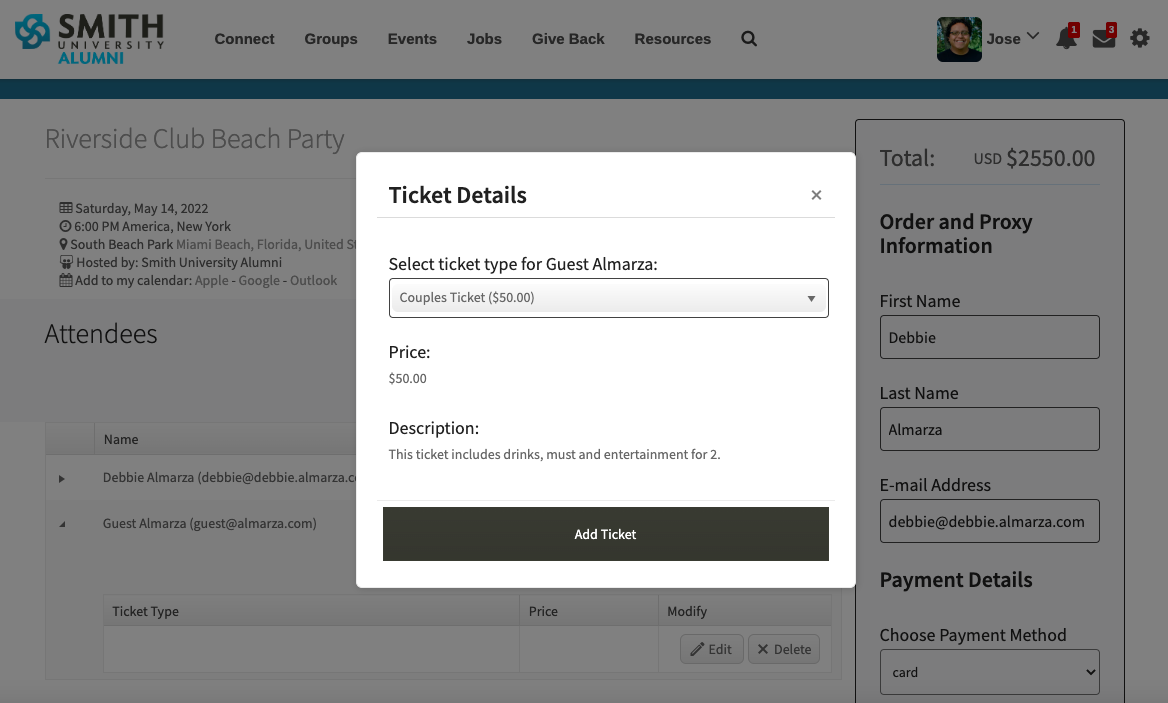
You may also add additional attendees (guests) by clicking “Add Attendee”, if additional guests are allowed. At that point, you can enter that guest’s information and select their tickets.
In the picture below, you can see the guest’s information on the landing page, along with the main user’s RSVP information.
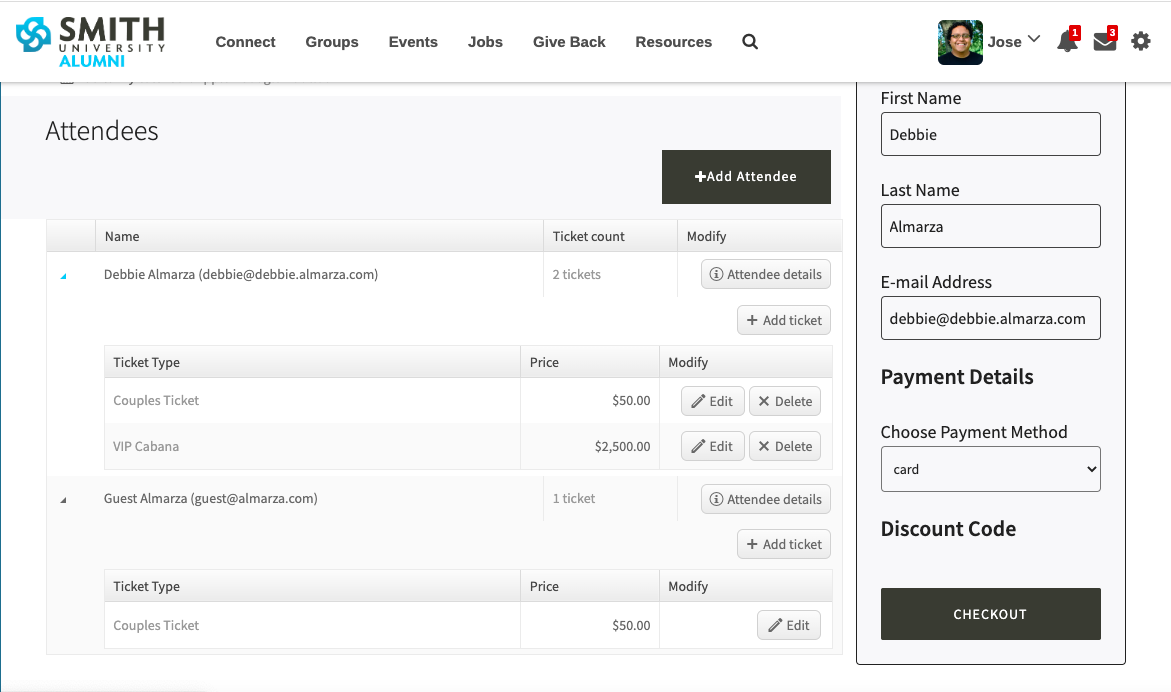
At this point, it is possible to checkout and register both the main user and their guest by proxy.
To complete the registration, select the payment method in the right hand column:
These payment methods can be changed later by the administrator after the registration is completed in the “Event Orders” page.
To complete the transaction, click “Checkout”, then “Submit Registration” for any payment method other than card.
If “Card” was selected, enter a card number and billing information.
After you register an attendee, if cash, check or some other payment was received for an event registration you can record it to keep track of which attendees have a balance.
1. Go to Manage Event > Event Orders
2. Search for the registrant and click “Details” (it may be easiest to sort by Status to see the Incomplete orders on top of the list)
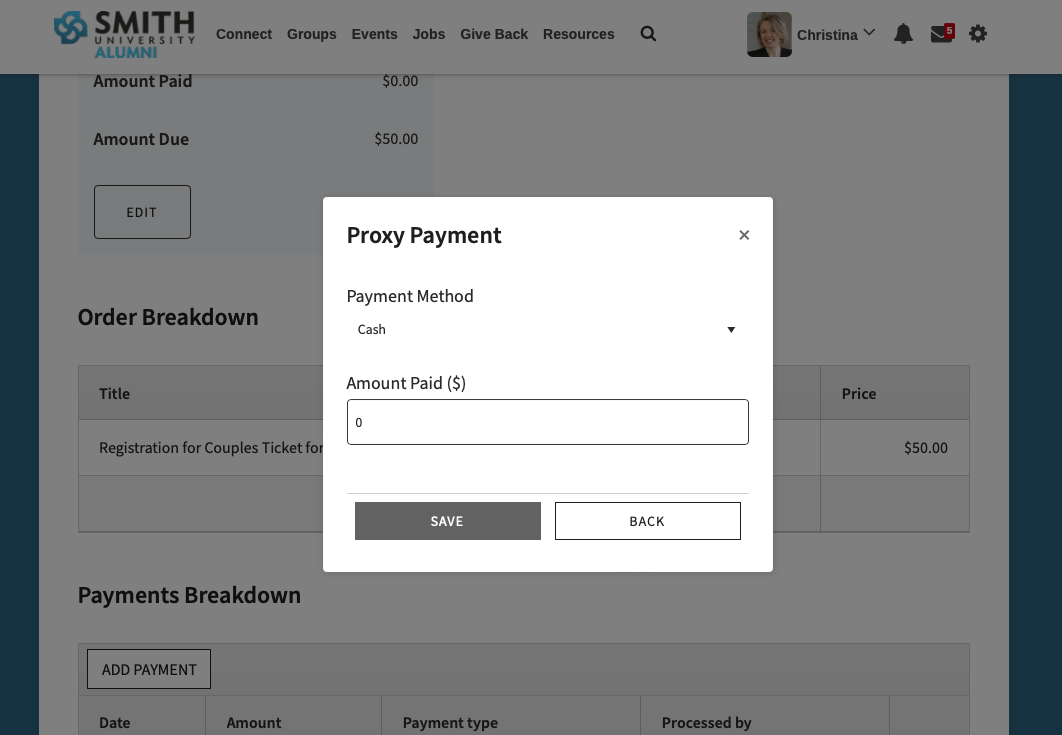
3. Scroll down to the “Payments Breakdown” section and click “Add Payment”
4. Select the method, enter the amount, and click “Save”.
Note: As we expand our e-commerce capabilities and incorporate order payments tracking in our Summer '22 development initiatives, payment methods are being updated. Please let us know if you have any issues.