In this article, you'll learn how to boost fundraising success and engagement by setting up a Campaign in 360Alumni. Only an Administrator may create campaigns. To use Campaigns, the feature must be turned on in your Settings panel.
Campaigns is a feature that is included with all 360Alumni service levels. Your regular service charges apply, and you can review results any time on your Receipt Reporting, or on each Campaign's Campaign Metrics page.
1. Create a Campaign
Go to Admin Menu > Fundraising
Click "CREATE A CAMPAIGN"
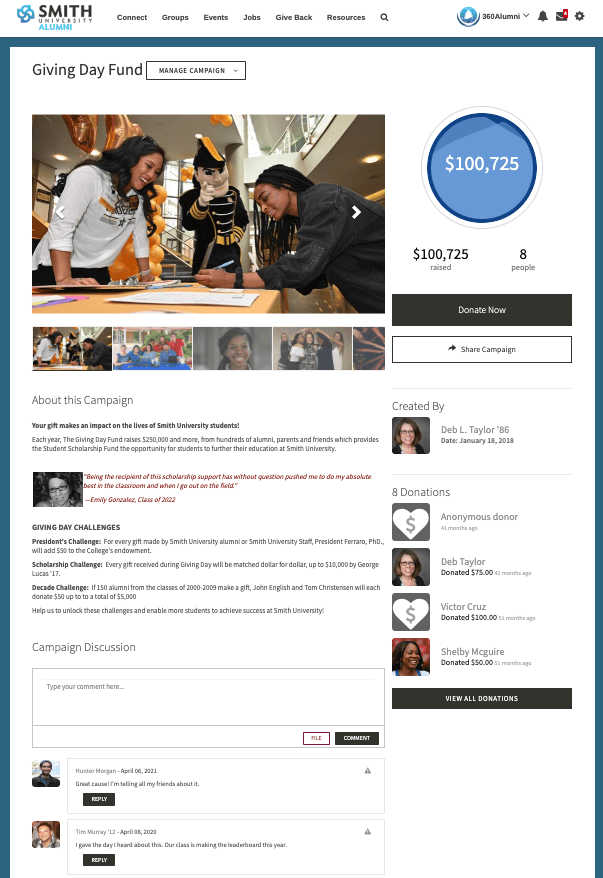
Select the Type of Campaign: "Short-Term" campaigns promote a fundraising goal and automatically expire on the end date. "Ongoing Fund" campaigns are promoted until the administrator manually ends the campaign. Note that the amount raised will be invisible on campaign 'ads' until it reaches $100. If you are creating a "Short-Term" campaign, enter a start and end date for "Campaign Duration." Then enter the "Goal" amount you wish to raise through this campaign. This will show on the real time progress meter shown on the campaign.
Enter the Title of the Campaign. For best results, the "Title" should be very specific and identify what the funds will be used for.
Enter the Details, or description of the campaign. Here you can include background, history, links and images. Keep in mind the media carousel lets you share a 'mini album' with images, videos and links to other pages.
Select Campaign Ambassadors: You can choose up to five "Campaign Ambassadors" that will help to represent and promote your campaign. Note that only active users can be ambassadors.
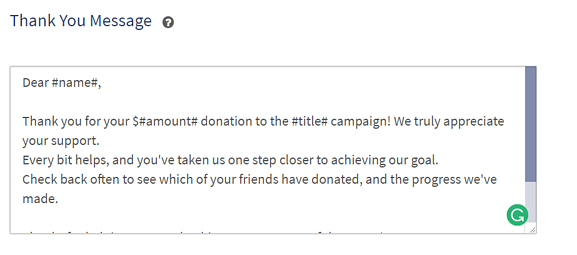
Enter a Thank You Message. After a donation is made, a "Thank You Message" email is sent to the donor, which you can further personalize. If you want to add "Amount" and "Title" in the body of the sent message, please utilize the "$#amount#" & "#title#" tags, as shown.
2. Add Campaign Media
Once you have filled out the Create Campaign form, click "CREATE & CONTINUE". You can now add images, web pages and videos to your fundraising campaign by going to MANAGE CAMPAIGN > Manage Media.
Adding Images:
To addanimage, click "Upload Image" under "What type of media do you want to add?".
Click the "UPLOAD IMAGE" icon in the modal, and select a JPG GIF or PNG file from your file browser window.
Adjust the crop tool for best results, then click "UPLOAD IMAGE" in the bottom of the modal. . the camera thumbnail, then click "Upload Image Icon." Browse for the picture on your computer, select it, and click "Upload Image" at the bottom of the window.
You will now see the cropped image in your media carousel. You can rearrange the order by dragging and dropping each bit of media.
Adding Videos & Externally Hosted Images:
To add a video or imagevia the link/URL click "Add Video/Image," then paste the URL of your source video/image.Click "Save." For videos, for best results use a YouTube or Vimeo link.
Adding Web Pages
To add an external web page, click "Add Web Page" and enter the page's URL in the field. The title and description of the page, along with a header image will appear if the page follows conventional HTML structure. If it does not, you may encounter a spinner and need to reload the page.
3. Add Final Touches, Review & Launch!
Once you are finished adding media, go to MANAGE CAMPAIGN > "View Campaign." Seed the discussion board by posting the first comment and setting an example for how you want it used.
Once you are ready to turn on the campaign, go back to Edit Campaign and click "Activate Campaign".
By default, the creator is the Campaign Administrator. To change this to another authorized site administrator, click "CHANGE CAMPAIGN ADMIN".
.svg)