.svg)
User profiles are the foundation of your alumni database management. Use profile settings, sections, custom fields, and custom objects to collect the information your community needs and control how it appears in your alumni directory.
To get started, go to Admin > Customize. Profiles is the first page in this section.
Configure profile settings
Use the settings at the top of the Profiles page to control how standard profile information is displayed.
Show full address
This setting controls how public addresses appear on profiles.
- If a user has made their address public, or their data was imported with the Privacy setting set to Public in Customize > Privacy settings, their full address will be shown to other users.
- Clear Show full address if you only want to show the user's city/region and country, rather than their complete address.
Display year with name
On a profile, the year is stored in the field just above the privacy toggle in the Manage > Name & Bio drawer. Turn on "Display year with name" in Customize > Profiles to always show the last two digits of a user's alumni year immediately after their name throughout the community.
- Select Display year with name.
- Enter a label for the year, such as Class, Class Of, or Graduation Year.
Required profile fields
Turn on required standard fields to collect key information when users activate an existing profile or create a new one.
- Toggle "Enforce required fields for members" to On.
- Select the fields you want to require under:
- Name and bio
- Address
- Phone
- Links
- Edit the custom fields and custom objects to specify which fields are required. A field or object must be visible too and editable by users to be required.
Demo video: Setting Required Profile Fields in 360Alumni
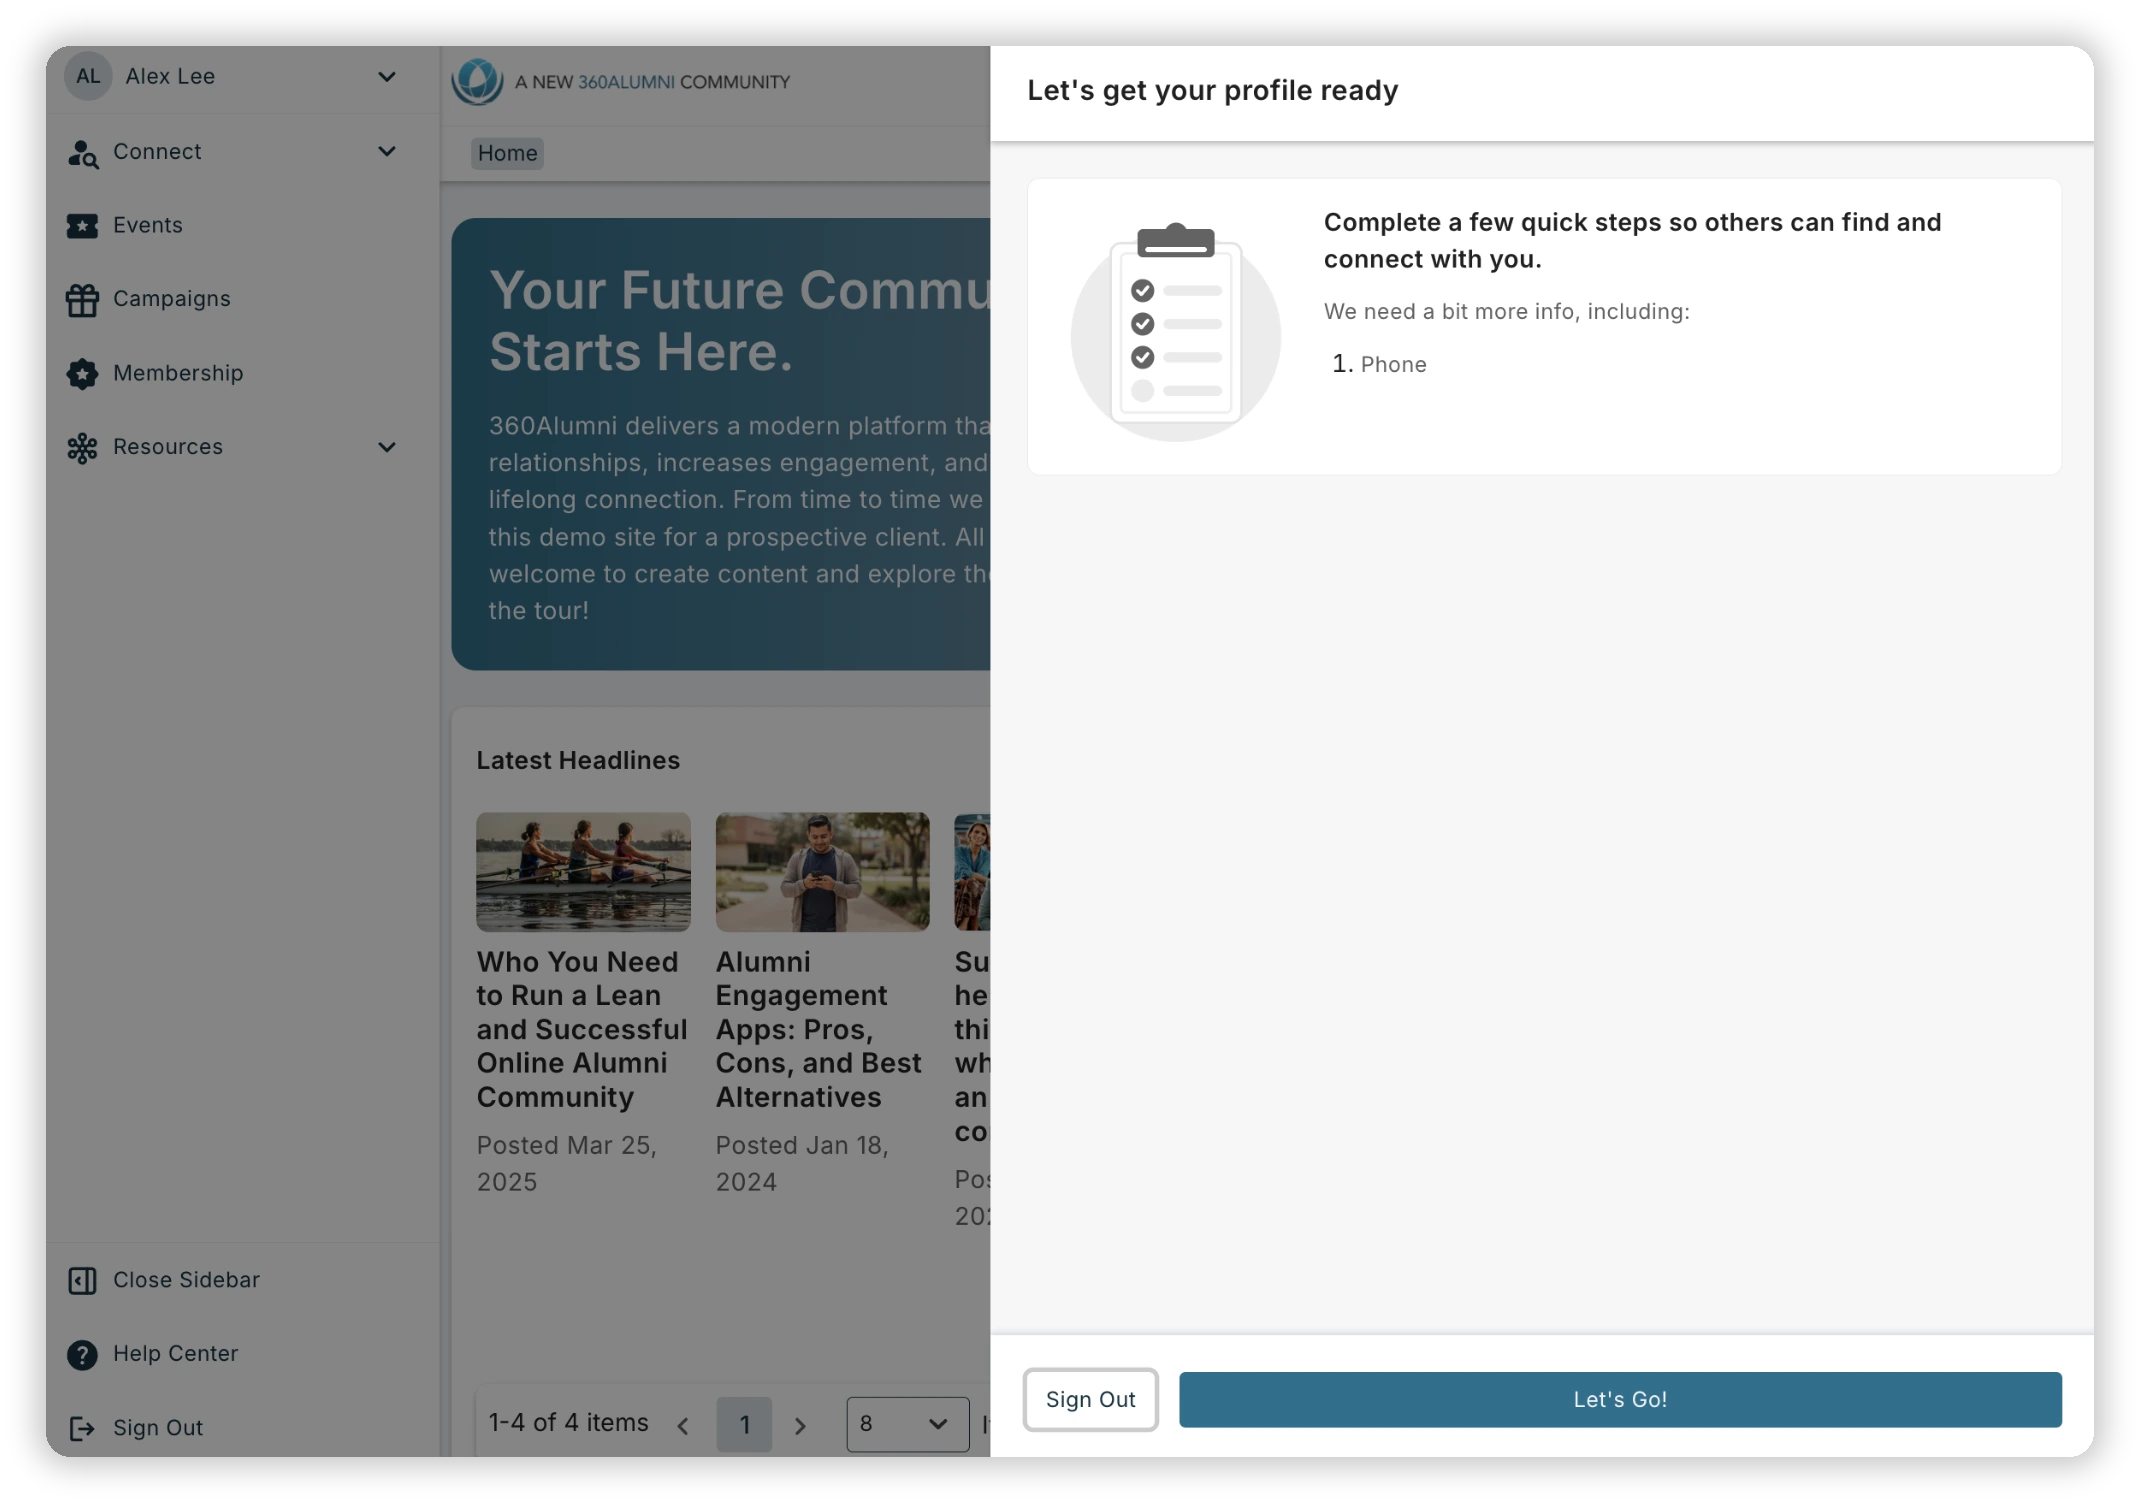
After a new user acknowledges the welcome message, a drawer will slide out guiding them through the steps to complete the required profile fields:
Create profile sections
Sections organize profile data into clear groups. A section can contain as many custom fields and/or custom objects as you'd like.
- Go to Admin > Customize > Profiles.
- Add a section.
- Enter a name and a description. Users will see the description when they edit their profile.
- Choose whether the section is visible to Users or Admins only.
- Set the section to active or inactive.
- Save your changes.
Section visibility and active status cascade to every custom field and custom object in that section.
To reorder sections, drag and drop them on the Customize Profiles page.
Add a custom field
Custom fields let you collect a single piece of profile information, such as an industry, preferred contact method, or professional credential.
- In the relevant section, select Manage section > Add field.
- Choose a field type:
- Short text
- Long text
- Single select
- Multi select
- Link
- Date
- Year
- Set who can view the field and who can edit it.
- Choose whether the field is active, searchable, or required.
- Turn on user-controlled visibility if users should be able to decide whether the field is public to other community members or private to Admins only.
- Save the field.
Searchable fields can help users find relevant connections in your alumni directory.
Add a custom object
Custom objects collect structured, repeatable data in sub-tables attached to a user's profile. They are useful for employment history, education history, or tracking participation in multiple programs at your organization. For example, an Employment History custom object might include fields for employer, job title, start date, end date, and industry.
- In the relevant section, select Manage section > Add custom object.
- Enter a name and description. Users will see the description when completing their profile.
- Set who can view the object and who can edit it.
- Choose whether the object is active or inactive and whether it is required.
- Save the custom object.
- Open the Manage object menu and select Add field.
- Add the fields needed for each entry in the object. Field types and settings work the same way as custom fields.
Reorder profile content
You can organize profile content as your alumni CRM evolves.
- Drag and drop sections to reorder them on the Customize Profiles page.
- Reorder fields and custom objects within a section.
- Reorder fields within a custom object.
Keep frequently used information near the top of a profile so users can complete their profiles easily. Any fields that are searchable will be available in the list of fields and filters on user tables, based on the role of the user. For example, if a field is admin only but searchable, users will not be able to show it as a column or filter on it when using the directory.
Related articles
- Setting default Privacy Settings for your community
- Importing profile data into your 360Alumni community
- 360Alumni user record import template
- Using the alumni directory & map
- Reviewing user profile updates in 360Alumni