.svg)
Use Admin > Customize > Features to control which community features are available, configure access and approval settings, and set messages members see during sign-up and their first login.
First, a few words about new user registration. Most communities are closed, meaning only pre-authorized users are allowed access. Why then would there be a Register button?
There are protections in place against bot account creation. Registration is rate-limited, sustained abusive activity will trigger temporary blocking, and email verification is required as part of normal self-registration.
As a result, nearly 100% of the time community registrants are legitimate users who may not be able to access their pre-imported account, which may have an old email address or no email at all. You can configure your community so new registrants do not have access to the member directory, events or other content.
There are multiple automations with new registrations that reduce the manual effort of handling account inquiries via email. 360Alumni will:
- Collect all required profile data to help you identify the member
- Notify you that a member is awaiting approval
- Notify the registrant that their account is under review
- Notify the registrant once their access has been set
- Allow for quick merges on the new profile
Members who create a new account are assigned the Guest role with Pending status until an administrator sets them to Full or Guest access, or deactivates the account. Guests cannot use the member directory, and if messaging is off for Limited Access users, they cannot communicate with anyone on the site.
To learn how to review Pending accounts and manage Guests, read our knowledge base article Managing user access.
Account Creation
Use Account Creation settings to manage required profile information, account approval, and messages for new members.
Require profile fields
You can specify any field to be required to be completed before a new or returning user can use the community. This is accessed from Customize > Features but is managed on Customize > Profiles. For help on setting these up, see Customizing user profiles.
Require approval for new users
Turn on Require approval for new users when you want to review self-created accounts before they can participate fully in your community. This approach is called a "closed community".
- Turn on Require Approval for New Users
- Choose the administrator(s) who should receive an email when a new account is created.
Members who create a new account, rather than activate an existing preloaded account, are assigned the Guest role and a Pending status until an administrator approves them. Pending Guests cannot use the alumni directory or interact with other members as Full Access users can.
Get notified of account activations
Under Notifications, designate one or more administrators to receive an email when an existing preloaded account is activated.
Set sign-up and welcome messages
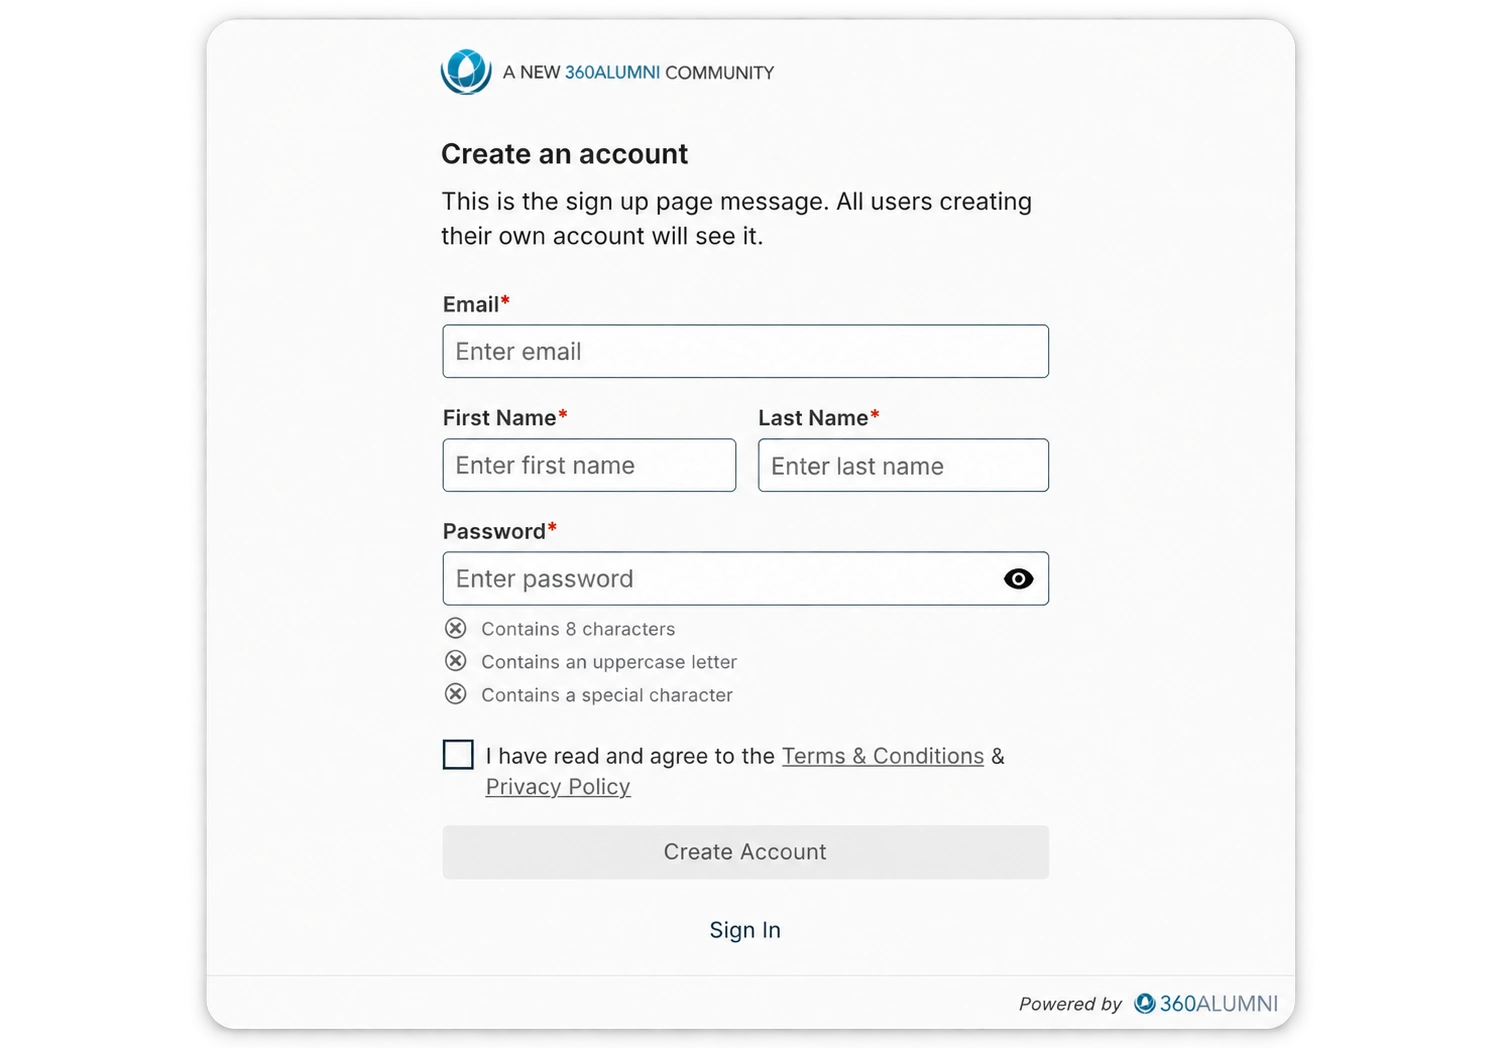
The Sign Up Page Message appears when someone selects Register and appears just below Create an account:
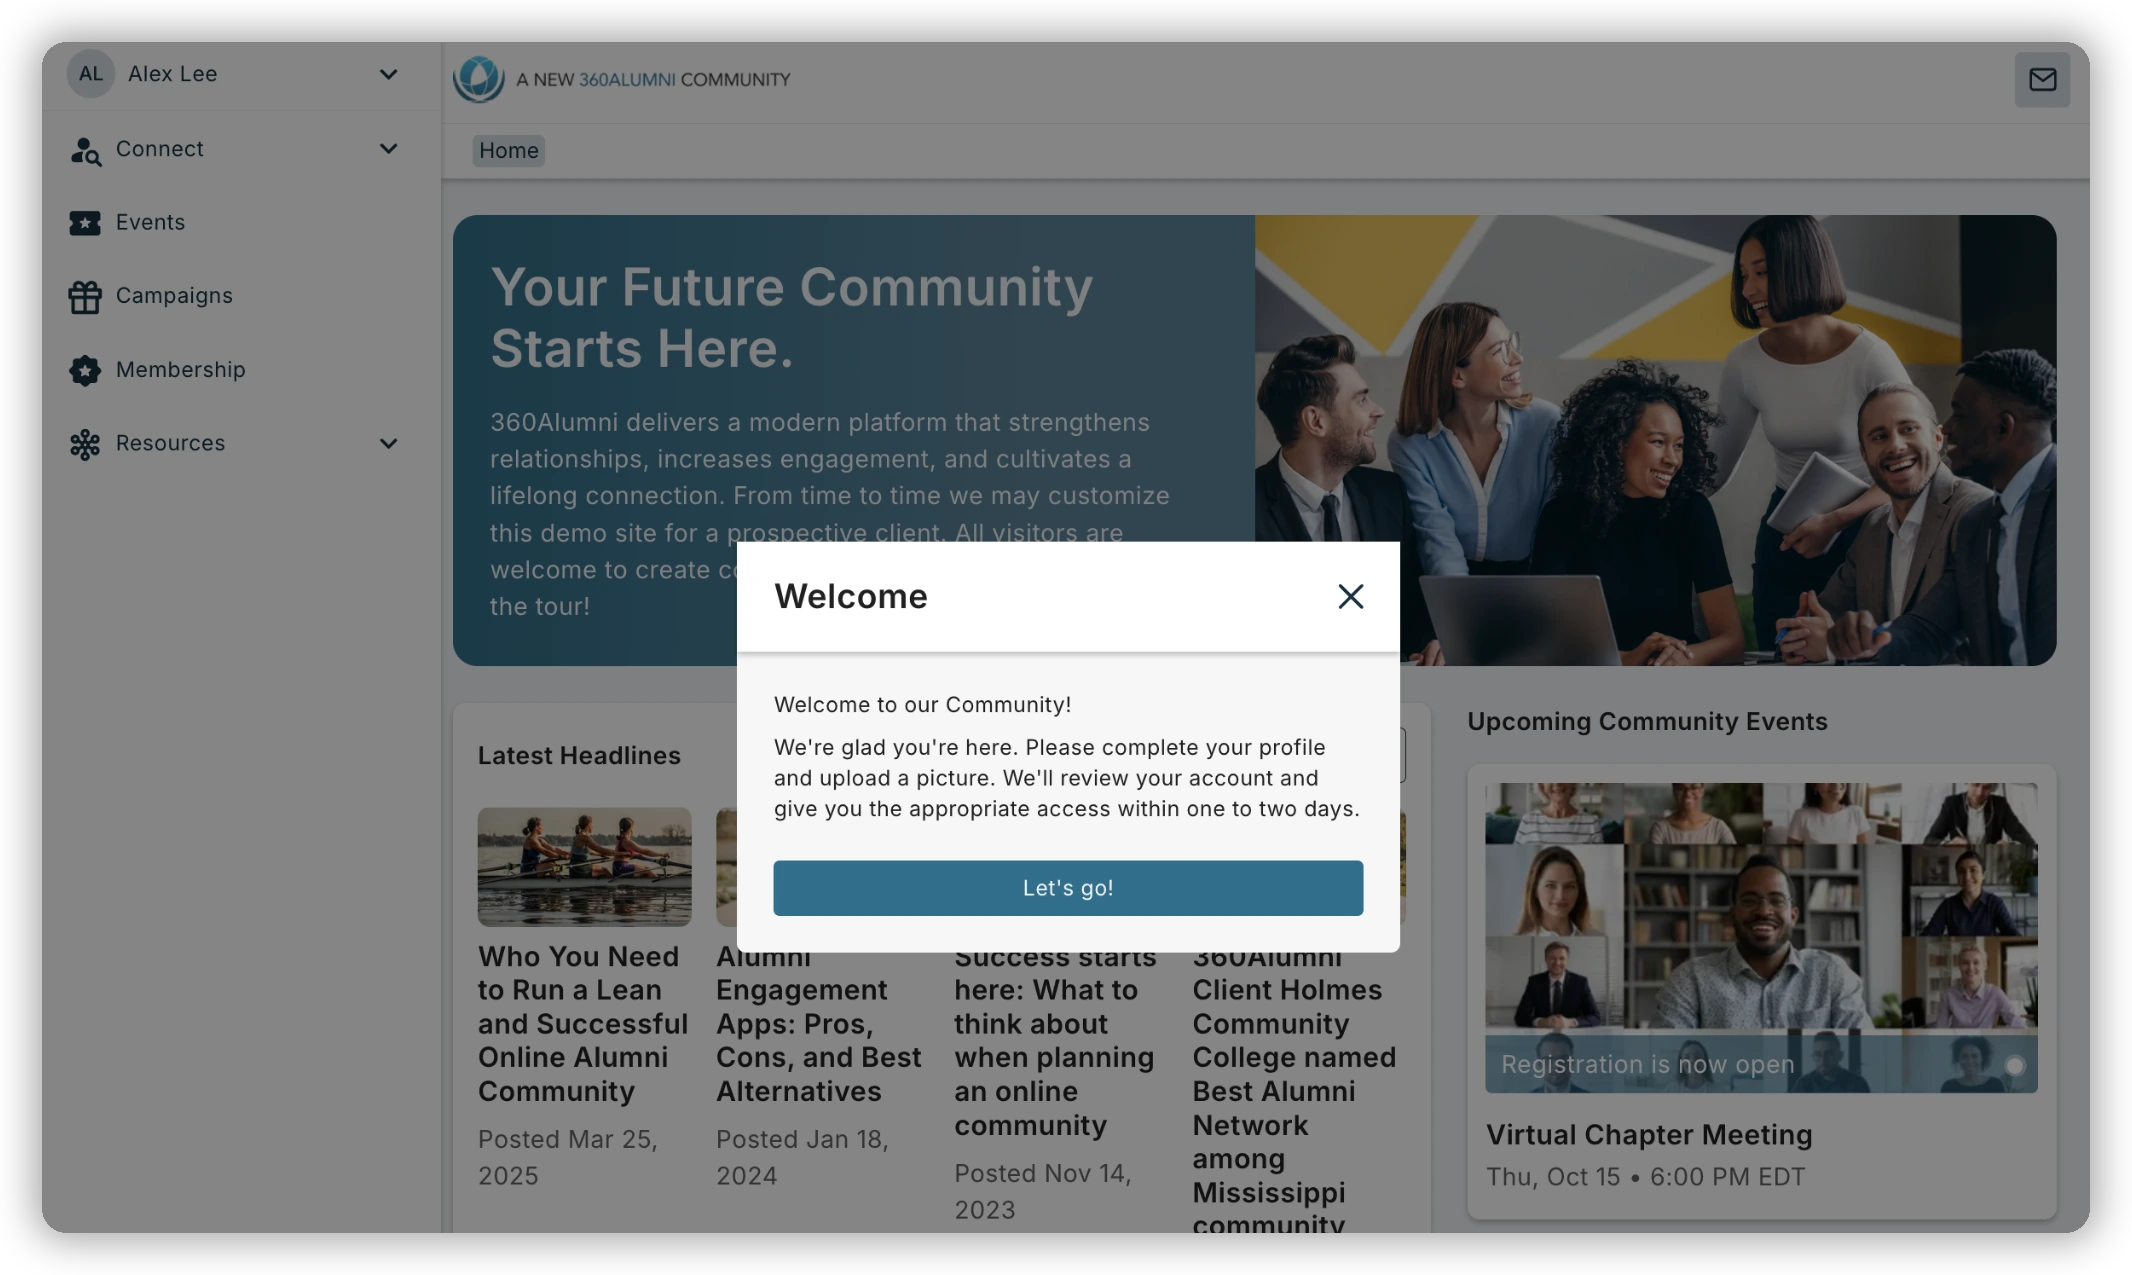
The Welcome Message for New Members appears the first time a self-created member logs in:
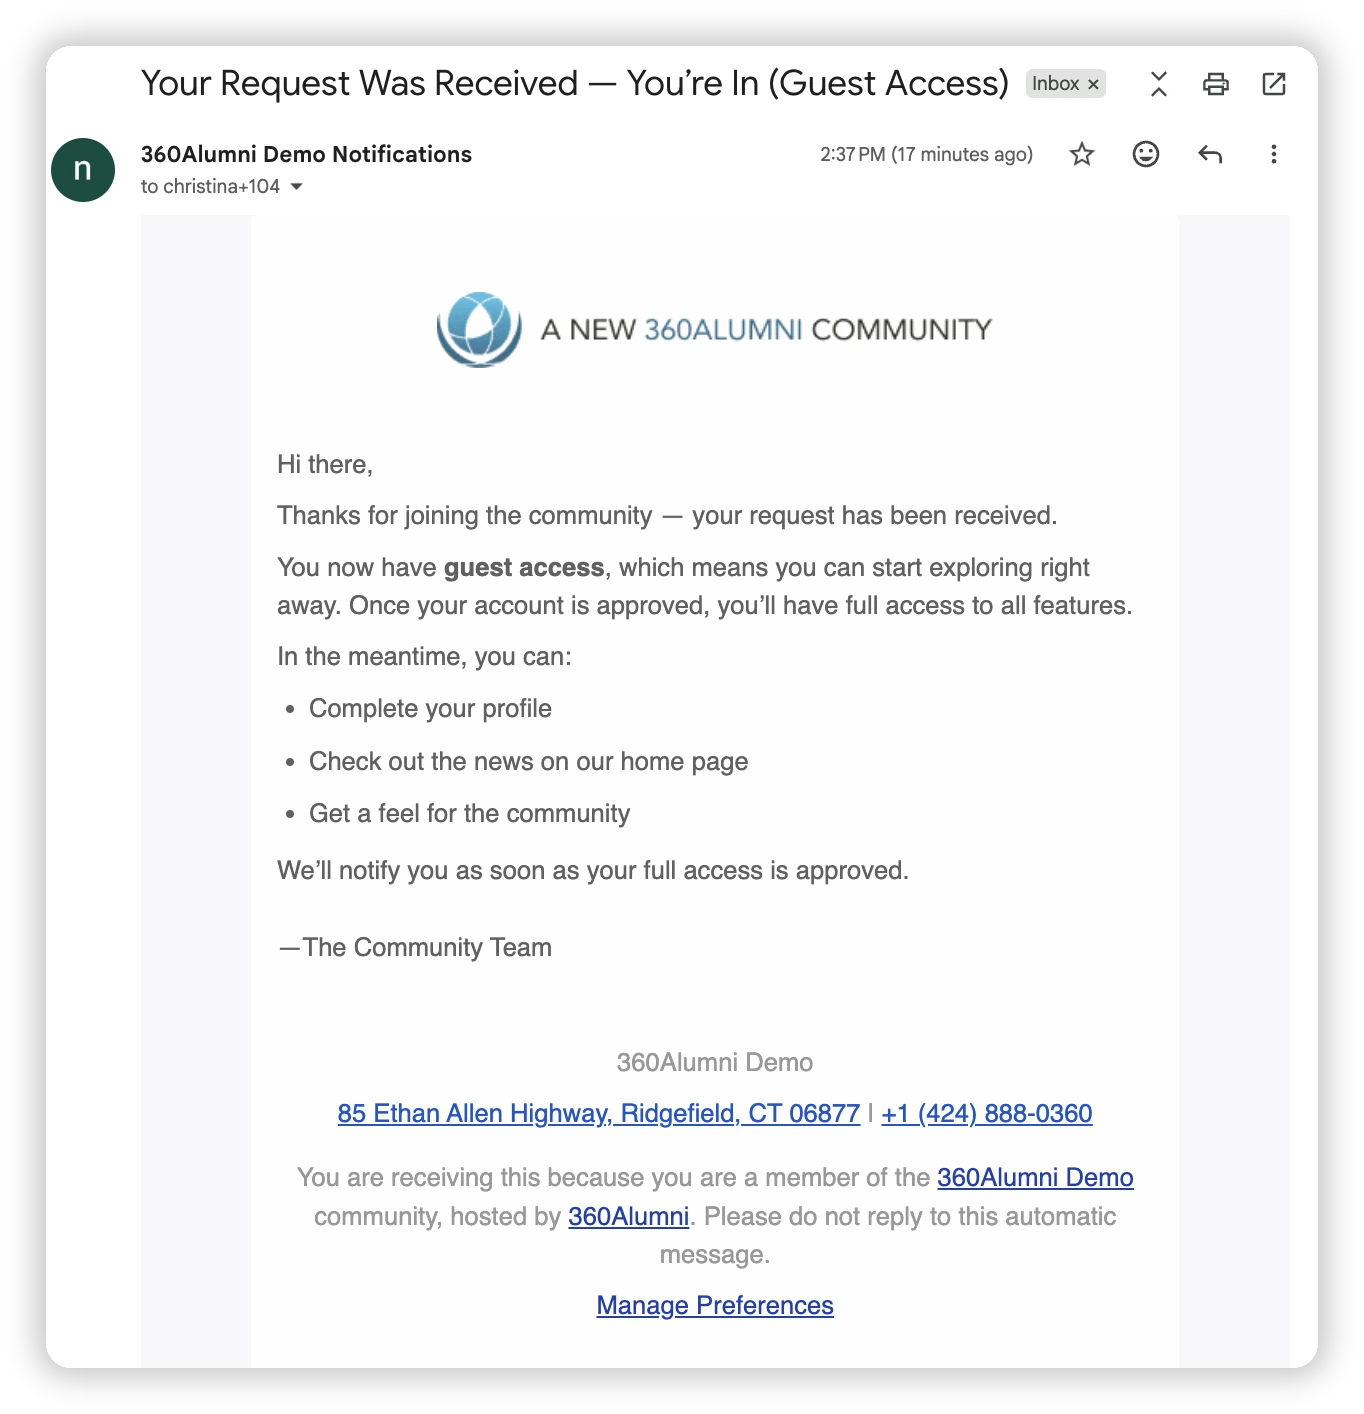
New members will receive the following email notification when they create an account in your community:
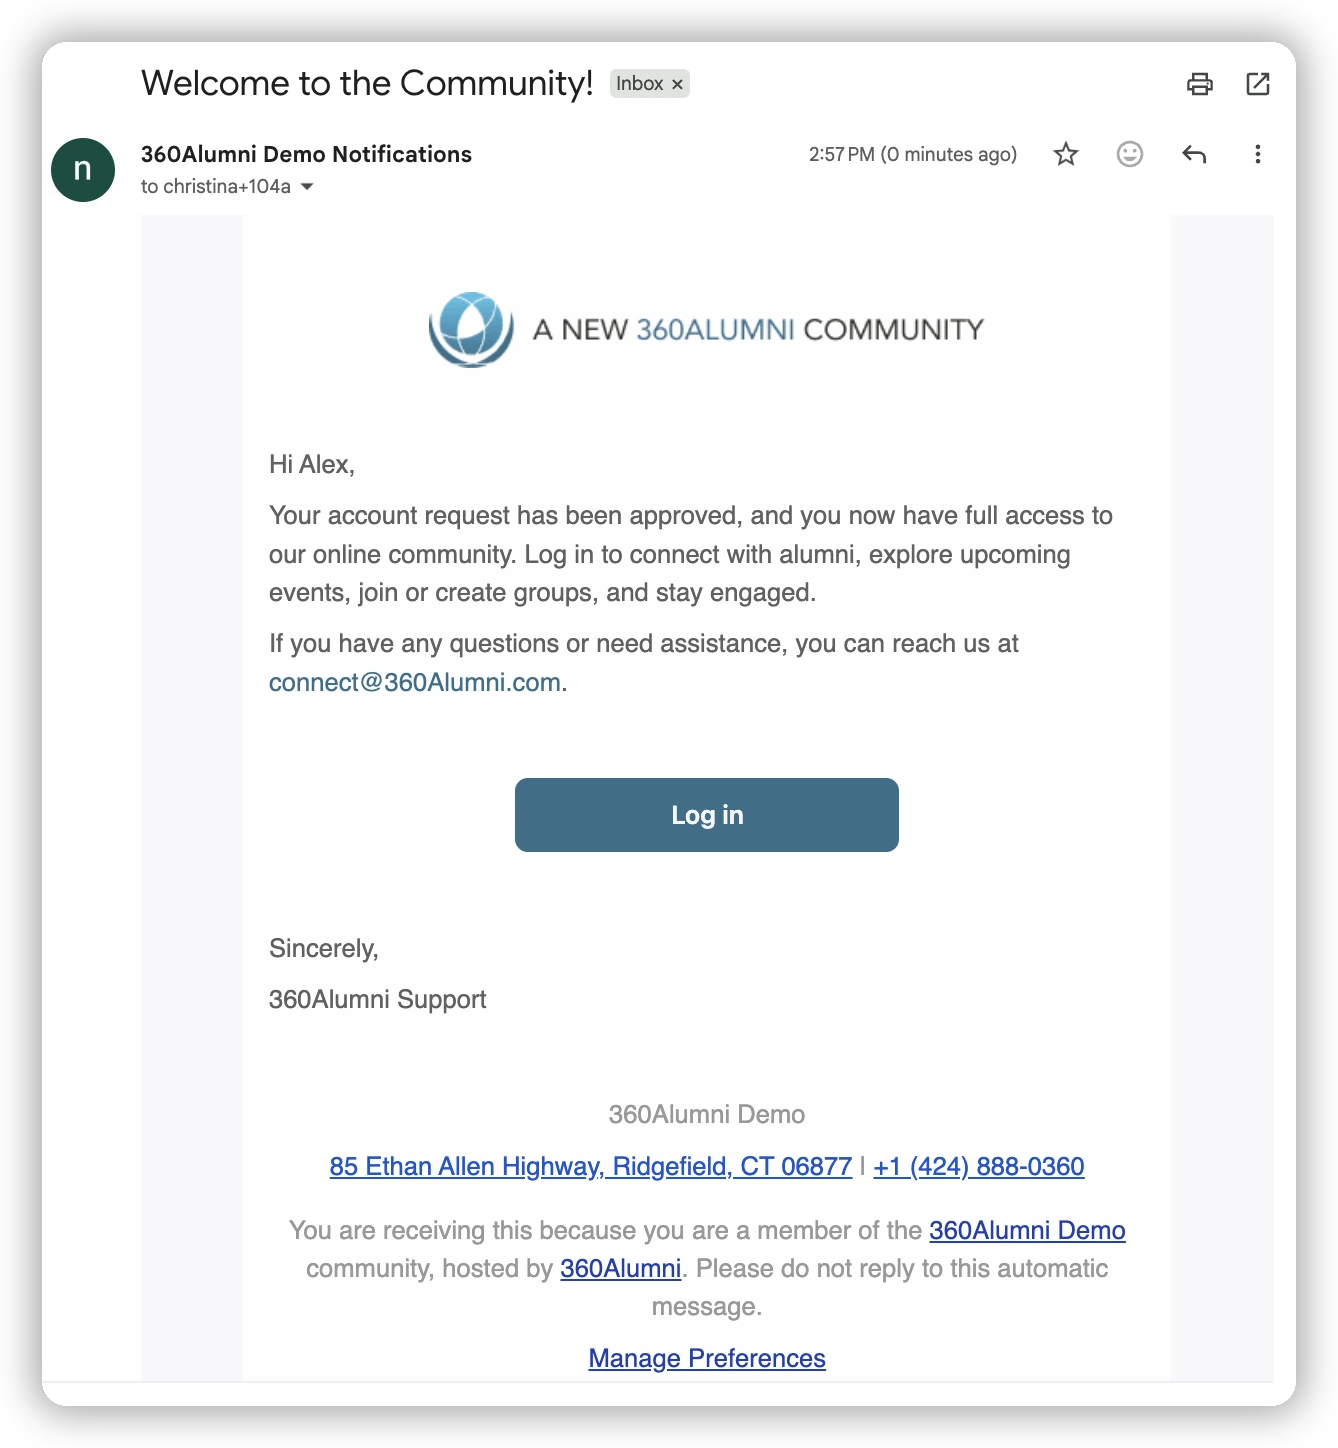
New members will receive the following email notification when their account is reviewed and approved for full access. The from name, contact email, signature and footer are personalized for your site:
The Welcome Message for Pre-approved Members is available if you require approval of new members. It shows as a pop-up window when pre-imported users activate their profiles, just like the Welcome Message for New Members.
The content of the email notifications can not be customized, but you can use the welcome messages to share community guidelines, ask members to complete their profile, and explain what to do next.
Events
Turn on Events to let members create and share events in your community.
- Go to Admin > Customize > Features > Events.
- Turn on Events.
- Choose whether Events are available to Limited Access users.
- If needed, turn on approval for new events and select the administrator who should receive approval notifications.
When Events are not available to Guests, your event content is protected. Visitors who are not logged in will not see an Events link on the home page. Event pages and individual event details are available only after a user logs in as a Full Access user.
When event approval is enabled, events created by regular users must be reviewed before they are published. Go to Admin > Manage Community > Approval Requests to review them.
Campaigns
Turn on Campaigns to run fundraising campaigns in your online community.
All donations your community members make through Campaigns are visible in the engagement sidebar on their profile to administrators. These details are hidden from regular users if they choose to keep their name private when making the donation.
Memberships
Turn on Memberships to sell memberships through 360Alumni.
You can offer memberships for fixed dates, monthly terms, or annual terms. You can also display a special symbol next to the names of members with an active membership.
An active membership does not control access to the community or its features. Use roles and feature access settings to manage access instead.
Showcases
Turn on Showcases to create collections of content for your community.
- Go to Admin > Customize > Features > Showcases.
- Turn on Showcases.
- Choose whether Showcases are available to Full Access users only or to both Full Access users and Guests.
- Add a showcase.
- When Showcases are enabled, their titles and links appear under the Connect menu for eligible users. Go to the showcase to add and edit items.
Asks & Offers
Turn on Asks & Offers to give members a structured way to request help or offer support. Many communities use Asks & Offers as part of a mentoring program, but it can also support networking, career advice, volunteering, and other community connections.
- Go to Admin > Customize > Features > Asks & Offers.
- Turn on Asks & Offers.
- If you have a closed community, decide whether Asks & Offers should be available to all users, or only full Access members.
- Give your program a name and add a description.
- Set the welcome messages for Offers and Asks. Each has a title and description where you can offer guidelines for participation.
- Specify the questions that will be asked of each participant. Each Ask or Offer includes three questions; the first question is the title of the post.
Once it is set up and active, Asks & Offers appears under the Connect menu.
Opportunities
Turn on Opportunities to create an alumni job board or share other opportunities with your community.
- Go to Admin > Customize > Features > Opportunities.
- Turn on Opportunities.
- Choose whether Opportunities are available to all users or only Full Access users.
- Add a description to show at the top of the page, for instance explaining which opportunities members should post.
- Add opportunity types that fit your community.
- If needed, turn on approval for new Opportunities and select the administrator who should receive notifications.
Opportunity content is not public on the web. Members must have the appropriate access to view it.
Opportunity types can broaden your alumni job board beyond job postings. For example, you might add internships, volunteer roles, board positions, conferences, contests, or “for hire” posts.
When approval is enabled, an administrator must approve an Opportunity before it is published or notifications are sent to subscribers.
Groups
Turn on Groups to support chapters, cohorts, classes, locations, affinities, and other member communities. Groups can support chapter management and more targeted engagement.
- Go to Admin > Customize > Features > Groups.
- Turn on Groups.
- Choose whether Groups are available to Limited Access users or only Full Access users.
- Require Approval for New Groups if you want to review Groups before they are visible to the community.
- Select the administrator(s) who should receive new Group notifications.
Messaging
Use Messaging settings to control who can contact other members and to review large recipient messages before they are sent.
- Go to Admin > Customize > Features > Messaging.
- Choose whether Limited Access (Guest) users can use Messaging.
- To review messages, turn on Require approval for bulk messages.
- Set the number of recipients that triggers approval.
- Select the administrator who should receive notifications for messages requiring approval.
IMPORTANT: Turn off Messaging for Limited Access users when you do not want Guests to be able to see the names of or contact other members. Guests can never access the directory, regardless of this Messaging setting.
Related articles
- Customizing user profiles
- Customizing user welcome messages
- Managing access in your 360Alumni community
- Approvals for user generated content and bulk messages
- Types of roles in 360Alumni