.svg)
When an alum or member activates their profile, you'll want to make sure you engage them in the community. Setting up a series of emails to be sent to them is one of the best ways to educate them about all the ways they can use their new network.
Think about the actions you want your newly activated alumni to take, and in what order. You may want to send a welcome message a day after accepting the terms and conditions, a week later a message encouraging the user to add info to make their profile robust, a week later encourage the user to join a group, and then 4 weeks later send a message that focuses on jobs, volunteering, or mentorships.
The subjects of your emails could be simple calls to action such as "Complete your profile in the Community today!", "Connect with your classmates", "Check out upcoming events, or "Share your expertise with the community as a Mentor". Be sure to include the value the alumni is getting for taking the desired action.
Remember that 360Alumni will send a profile activation confirmation email to all new users. Therefore you'll want to check the flow based on your particular settings (e.g. open or closed community).
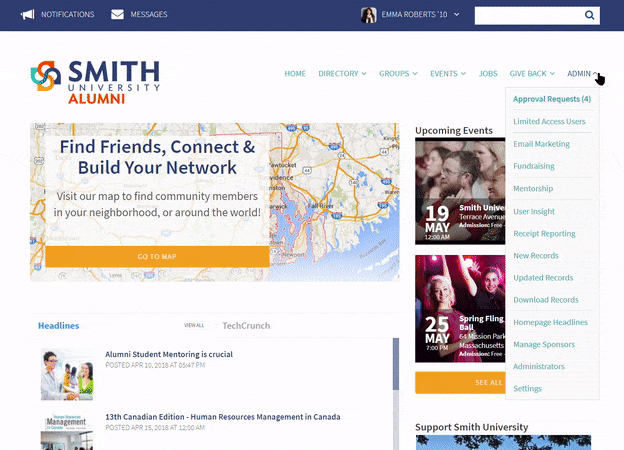
From "Admin," click on "Email," "Marketing." From the Email Marketing page, click "Create Mailing," and then go to "Emma" when the window opens up.
From the "Home" page click "Create New Mailing." Create the mailings you want and then "Save" the drafts.

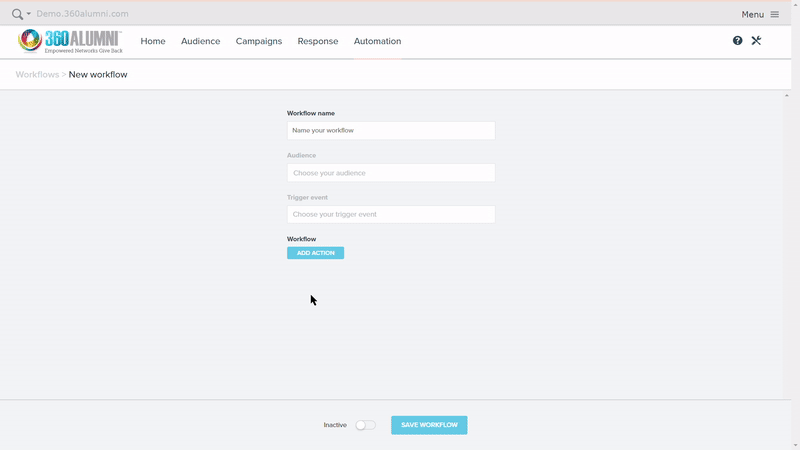
From the top navigation, click Automation, when the page opens click on "Create New Workflow."

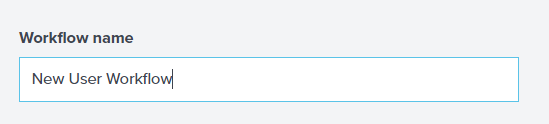
When the page opens enter the "Workflow Name" you want to use (keep it simple and easy to understand like “New User Workflow”.)
Click on "Audience" and when the side panel opens make sure "Any Contact" is selected and click "Confirm."
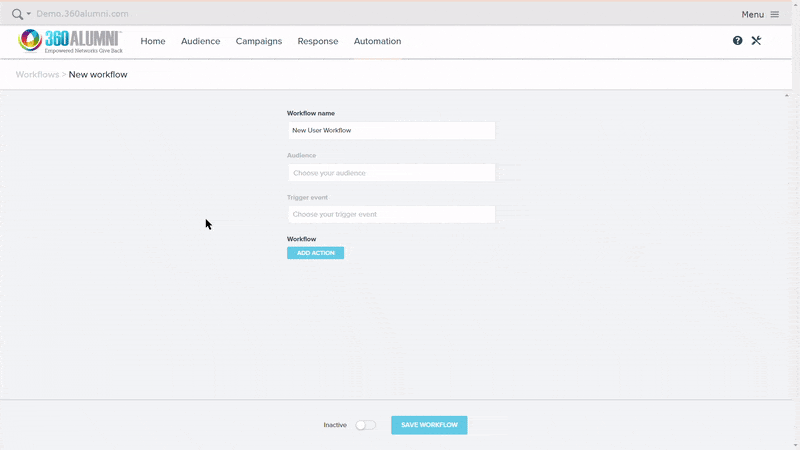
Click "Trigger Event" and when the side panel opens select "Field Change" then "Next" Select "Enabled" then "Next."
From "Choose a Field" select "Enabled."
From the "Changes From" drop down select "Anything," from the "And Changes To" drop-down select "Equals," then enter 1 in the field underneath.
From the "Confirm Your Trigger Settings" panel select "Confirm."
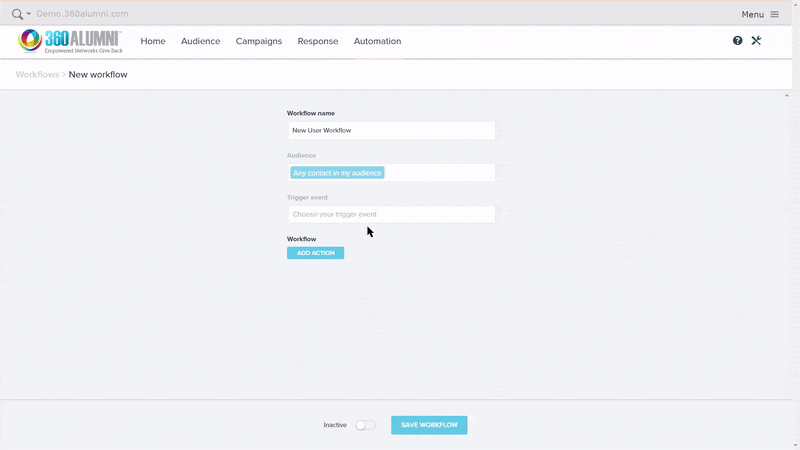
Under "Workflow" select "Add Action." From there you are able to add the "Mailings" you want to send and when you want to send them. Once completed click "Save."
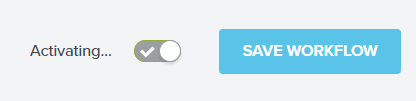
When you are ready to use the workflow created slide the "Inactive" button to "Active."